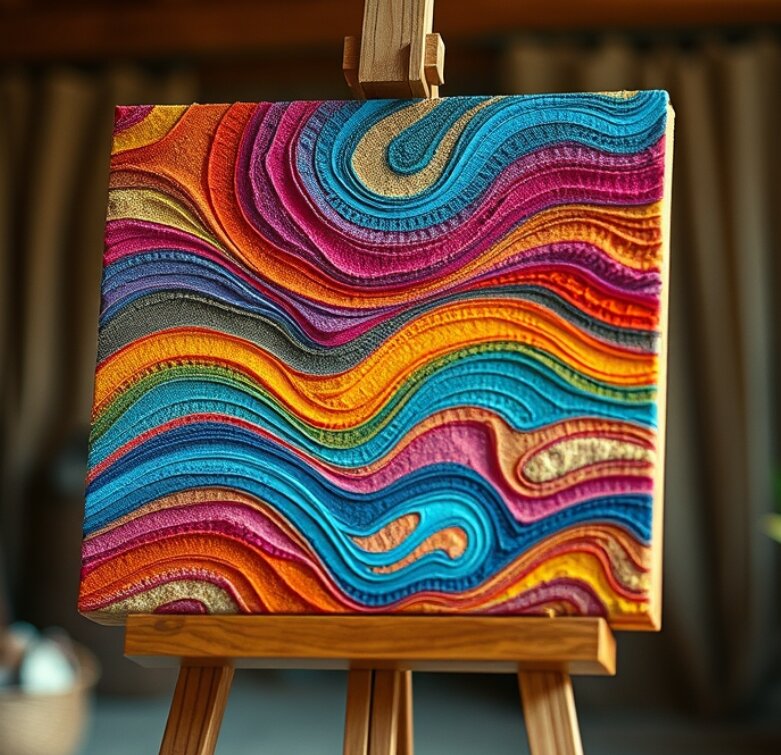
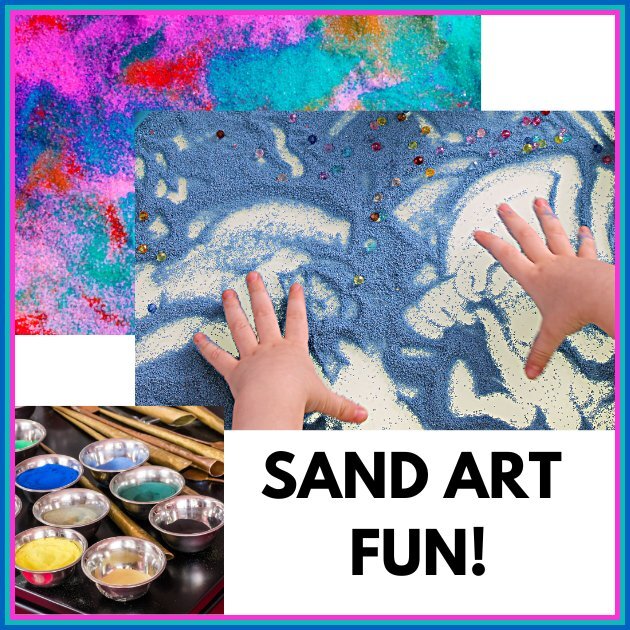
Sand art? What is it exactly and why why is it a FUN, FAMILY IDEA?
Sand art is a fascinating form of art where you use sand to create designs or images on a surface, transforming a simple medium into a powerful method of expression! Sound like something full of FAMILY FUN?!
Think of it like painting, but with grains of sand serving as an artistic medium to bring the imagination to life. You can create anything from simple shapes that capture the essence of everyday objects to intricate landscapes that tell a story or evoke emotions…and that’s why this is truly something for ALL AGES and ALL MEMBERS of your family!
The texture and color of the sand can vary greatly, allowing for endless combinations and techniques that can enhance artistic vision. Whether someone prefers working on a small scale, creating delicate patterns in a bottle, or on a large scale, sculpting breathtaking scenes on the beach, sand art caters to all forms of creativity.
You can use containers to create sand art, but for this article I’m going to give directions for creating sand art on a canvas!

Materials You’ll Need:
A canvas (any size you prefer)
Fine-grained sand (available at craft stores or hardware stores)
Acrylic paints in your desired colors
Paintbrushes
Toothpicks
A palette
A cup of water
All-purpose glue
Step-by-Step:
-
-
- Apply the Adhesive: Using a paintbrush, apply a thin layer of your preferred adhesive to the areas where you want the sand to adhere.
- Sketch Your Design: Start by lightly sketching your desired design onto the canvas. This can be anything from simple shapes to intricate landscapes.
- Pour the Sand: Gently pour the sand onto the adhesive-coated areas. Make sure the sand is evenly distributed and covers the entire design.
- Press the Sand: Use your fingers or a spoon to gently press the sand into the adhesive. This will help secure the sand to the canvas.
- Dust Off Excess Sand: Tilt the canvas and tap on the edge to gently dust away the excess sand that has not adhered to the canvas.
- Shape the Sand: Use a toothpick to shape and refine the details of your sand art design.
- Remove Excess Sand: If there are any areas where too much sand has accumulated, use a toothpick to carefully remove the excess.
- Paint Your Creation: Once the sand is secure, use acrylic paints to add color your sand art. You can use a variety of techniques, such as stippling, blending, or layering, to create different effects.
- Let It Dry: Allow the paint to dry completely before handling or displaying your sand art piece.
-
Tips for Success
- Experiment with different colors and textures.
- Don’t be afraid to make mistakes. Sand art is a forgiving medium, so you can easily correct any errors.
- Have fun and be creative! Sand art is a great way to express yourself and relax.
Sand art is an enjoyable and easy way to make unique art pieces for and by your entire family! By following a few simple steps, everyone can create sand art. The most important part is to experiment, enjoy, and let creativity abound!!
THE PLACE to shop if you want to educate your children as unique, individual learners. On My Teaching Library.com, you can instantly download your curriculum from a Christian-owned business with the assurance of quality because the curriculum has been selected and created by an experienced teacher and homeschooling parent with over 30 years in education. Your family will have the opportunity to go at your own pace and learn based on individual style and interests while always having a list of skills and concepts to guide you. You’ll also love the money saving, All-Access membership plans!
Learn the My Teaching Library difference
Join Lynda and My Teaching Library on social media…
FB Group
FB Page
Pinterest


